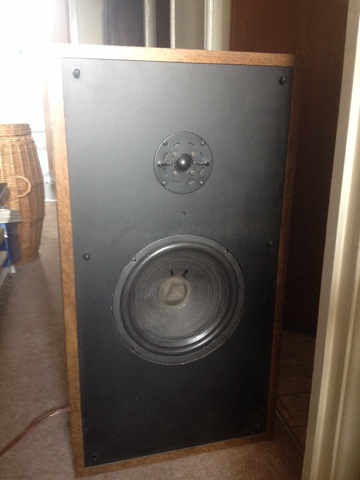
A tricky job! Full instructions provided by Simply Speakers, who got the new foam kit to me about as fast as it possibly could have from Florida, but I wasn't here to receive it initially.
 |
| The speaker as it came out of the box |
Bleuch! Pretty messy, the foam is totally shot, just crumbles away.
 |
| Ripped all the loose foam off... |
First job is to remove the loose foam - just messy, not hard!
 |
| Cleaning up the gasket |
The gasket is removed with a craft knife run around the chassis under the gasket. Not hard, but cleaning the glue off the foam gasket is a bit tricky, because it tends to remove the top layer if you're not careful.
 |
| Speaker chassis before cleanup |
You can see the old glue and foam on both the chassis and the speaker cone. All needs to come off, although the tutorial video says not to worry too much about any glue on the chassis, just make sure the foam is off.
 |
| Speaker chassis cleaned up |
Cleaning the chassis is mostly a scraping job, it's metal so not hard to get the crap off.
 |
| Cone after cleaning (not a good shot!) |
Then the cone has to be cleaned with alcohol or cellulose thinners. I went to the car accessories shop and bought some thinners - phew!! Heavy duty stuff, with a tendency to melt the plastic handle of the craft knife! You just rub it on with some paper towel and then scrape gently to get the grunge off - it's quite difficult, but eventually you can see dull clean paper and glossy remaining glue, which you then work on.
 |
| Glue foam to the cone |
The procedure is conceptually simple - glue the surround to the cone, then glue it to the chassis. Apply glue to the surround whilst resting it on the chassis upside down, then flip it over. The glue takes a few minutes to get tacky, so you have to keep rotating and pressing to get it to stick. It eventually does!
 |
| Attach surround to chassis |
Same principle applies - put the glue on the chassis, smunge the surround on to it to spread the glue out, then rotate and press continuously until it sticks. Keep bouncing the cone lightly in and out to check it's centred - this is the most worrying step because of course if it isn't, the speaker is useless!
Eventually, the glue dries enough for it to stick the surround down where you want it, and the breathing and heart rates slow down :-). Seems ok. You have to wait at least an hour between gluing steps, so off to do something else for a bit while that happens...
I also glued the gasket back on, using a similar technique, then left it all overnight.


No comments:
Post a Comment